My other sister has a sewing machine now too, and she’s really the greenest person I know – she used to volunteer full-time for Freecycle . So I suspect she might like me promoting the idea of using old fabric scraps to applique onto old clothes to make new wearable art.
So: here’s a tutorial on how to do simple appliqué. There are lots of pics and lots of instructions, but individually each step is pretty easy. If you can draw a wiggly line and you have a sewing machine, you can do appliqué:
Here’s what you’ll need:
Heat n Bond LITE (so you can sew through it) – N.B. My lovely sis Serena reminded me that if you’re just starting to sew, you might not know what Heat n Bond actually is… it’s this groovy paper stuff you can buy at haberdasheries that basically lets you make an iron-on patch out of any fabric you choose. I promise that the first time you play with it, you’ll be like, ‘Oh! That’s how that works!’ It’s pretty cheap, easy to use, and goes a long way.
The material out of which you want to make your applique design – I used green and pink felt that was bought for some project then forgotten about
The material you want to appliqué onto – I used the Amy Butler flower fabric shown
Some blank pattern paper
A cutting mat or some metric pattern paper is useful (but not absolutely necessary)
A square of medium weight fusible interfacing (a little bigger than your appliqué), or you can use the special applique tear-away stuff, but it’s not necessary to buy a whole thing of it if you’re making one heart.
Matching thread
Any chosen embellishments (I used buttons)
A glass or something to trace around, or some shape you can use as a pattern (I did a freehand of a glass and the heart is from Cath Kidston’s SEW.)
Sewing machine and kit
 |
| The bias binding isn’t necessary for the applique – it was used in the half apron project I made after I did the applique. |
Ok, you’re gonna want to sort out your design. One simple solution is to trace around a glass and freehand a curve down the centre:

This is where your cutting mat or metric paper comes in handy – simply place your design over the paper with a thick red placement line down the centre and use the boxes to guide where you place your chosen curve or line or whatever – just remember that you’ll have to sew over the outline of the shape later, so really tiny curves might not be a good idea…
 |
| Here’s how I started out, with just a heart positioned over metric pattern paper. |
 |
| After a few tries, I got the curve just the way I wanted it! Lots of eraser shavings everywhere! |
 |
| Here’s my pattern paper with my plain shapes and my freehand curved shapes; I did both to see which one I liked better – you can make it however you want! Go wild! |

and iron them onto your appliqué fabric, like so:

Then, trace your designs onto your Heat n Bond paper:

Now cut them out, like so:
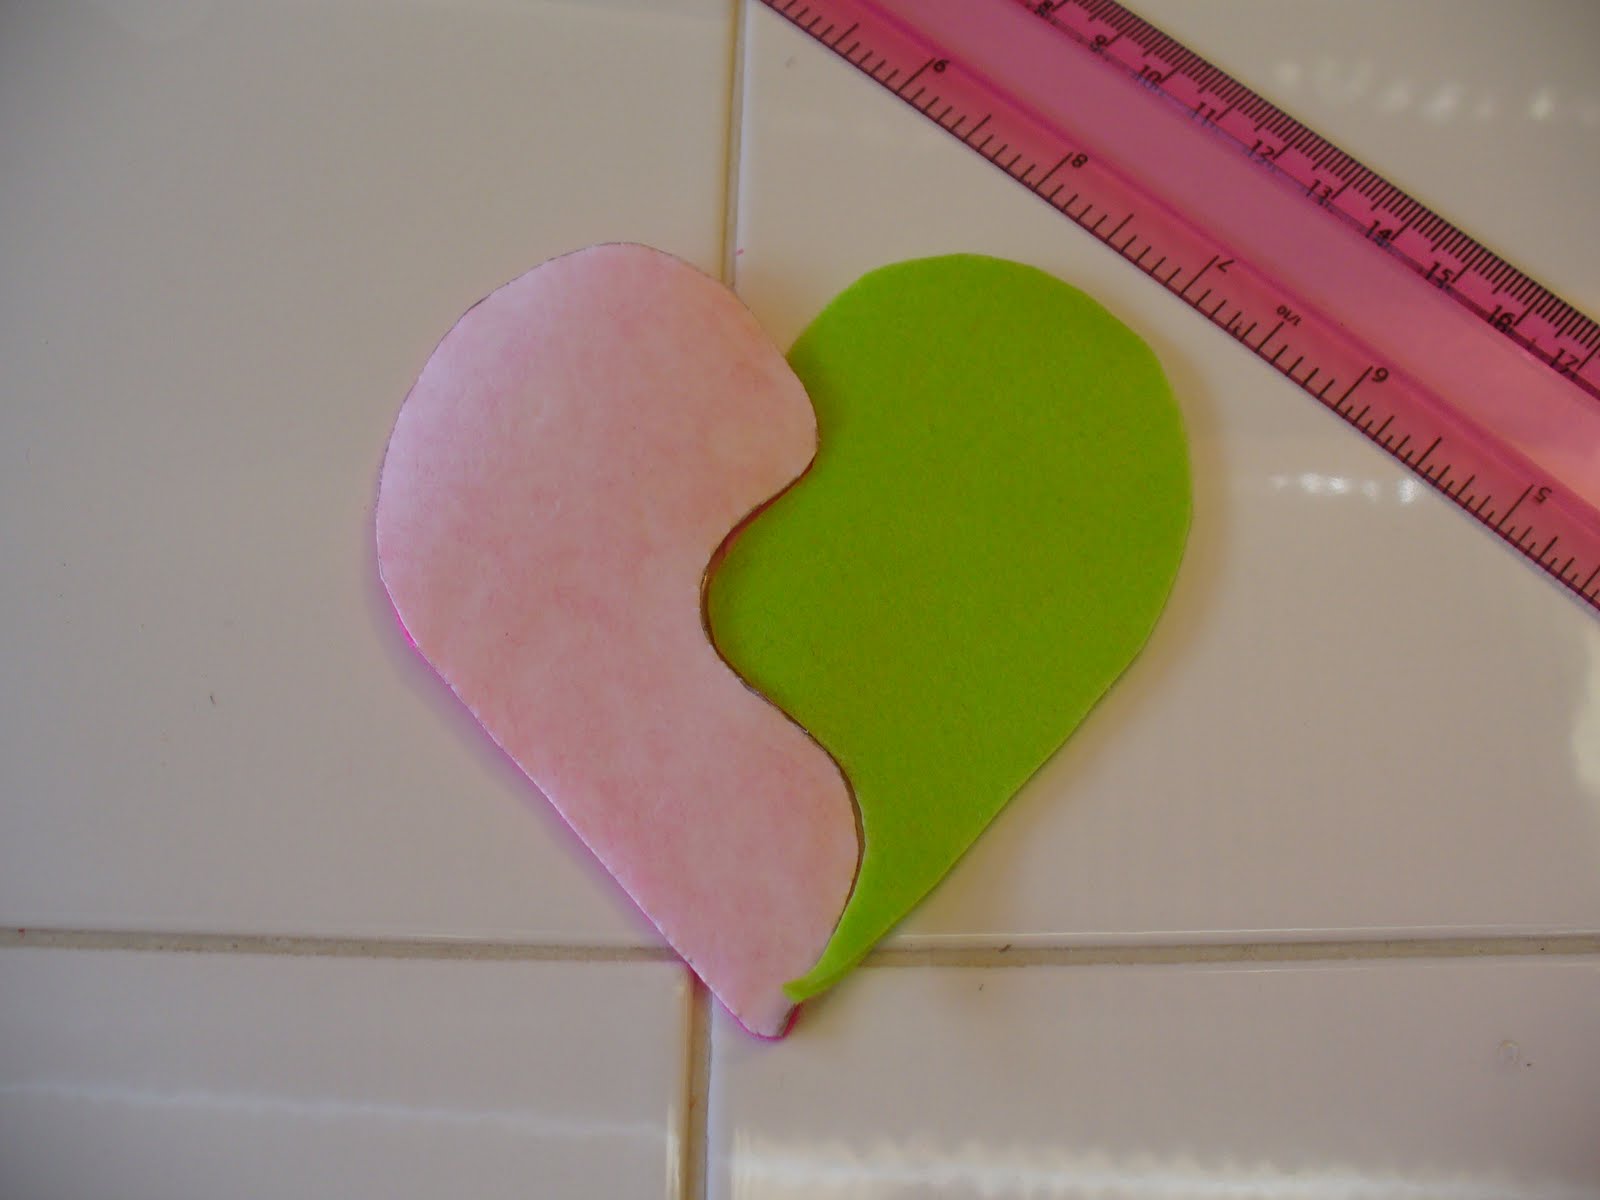
You also need to iron the medium fusible interfacing onto the back of the fabric where you’re going to appliqué, as this gives the fabric some extra stability before you start doing heavy duty stuff to the front of it (like appliqué):


 |
| Ironed! Yours should look similar to this. |
 |
| This is my setting on my machine for my heart applique – notice it’s not a full length zig-zag.(OPTIONAL but recommended: try driving your machine for a bit on a fabric scrap before jumping straight in.) |

When you start and stop stitching, leave a 4 inch tail on the front and back threads. That way, when you’re done stitching you can take the top strings through to the back and tie a square knot before you cut them off, like so:
 |
| Use a needle to take your beginning and end thread tails through to the back. |
 |
| Actually, I cleaned it up a bit before I took the pic! Don’t leave too many hanging around at a time as they might get tangled in your bobbin or stitching… |


 |
| That’s me, smiling my cheesiest smile! 🙂 |
If you find yourself stuck at any point, or just need some sewing advice, please email me here!
© Copyright J C Excell, 2011
All rights reserved